Walk-In Wardrobe Spare Bedroom Conversion UK: Planning & Cost Guide
Converting a spare bedroom into a walk-in wardrobe is one of the highest-ROI home improvements available — you're solving a genuine problem (clothes storage) whilst adding tangible value to your property. The good news: it's straightforward enough to manage without specialist knowledge. The catch: rushing the planning stage costs thousands in rework.
Why Convert Your Spare Bedroom?
A proper walk-in wardrobe beats fitted wardrobes crammed into a bedroom for several reasons. You gain actual working space — laying out outfits, trying combinations, and storing seasonal items without living around open rails. For properties where a guest bedroom sits underused, converting it reclaims dead space. And unlike a standard wardrobes, a dedicated walk-in justifies proper infrastructure: ventilation to prevent damp, quality lighting so you can actually see clothes, and flooring that handles foot traffic.
The trade-off is straightforward: you lose guest-bedroom flexibility. Plan accordingly if you host regularly.
Planning Permission & Building Regulations
This is where most conversions stumble. The good news: most bedroom-to-wardrobe conversions don't need planning permission. The bad news: they always need Building Regulations approval, and skipping it lands you with a survey nightmare when selling.
Planning permission isn't required because you're not changing the building's external appearance or its use classification — it remains residential. However, if your extension or any structural changes affect your home's footprint, check with your local authority. Conservation areas and listed buildings have different rules; email your council's planning team with photos if you're unsure.
Building Regulations approval is mandatory. This covers:
- Electrical rewiring (if you're adding circuits for lighting or charging)
- Any structural changes (removing wardrobes, adjusting door frames)
- Ventilation (especially important to prevent condensation)
- Fire safety (doors and escape routes if this was an upstairs bedroom)
Apply for Building Regulations before starting work. The inspection fee is typically £200–400, and the council will inspect at rough stage (walls and electrics) and completion. Skipping this is false economy — you'll need the completion certificate to sell.
Space Planning & Layout
The first practical step: measure ruthlessly. Walk-in wardrobes need minimum 1.2m width to feel functional; anything narrower becomes a frustrating corridor. Ideally, you want 1.5m+ so you can stand in the middle and access rails on both sides comfortably.
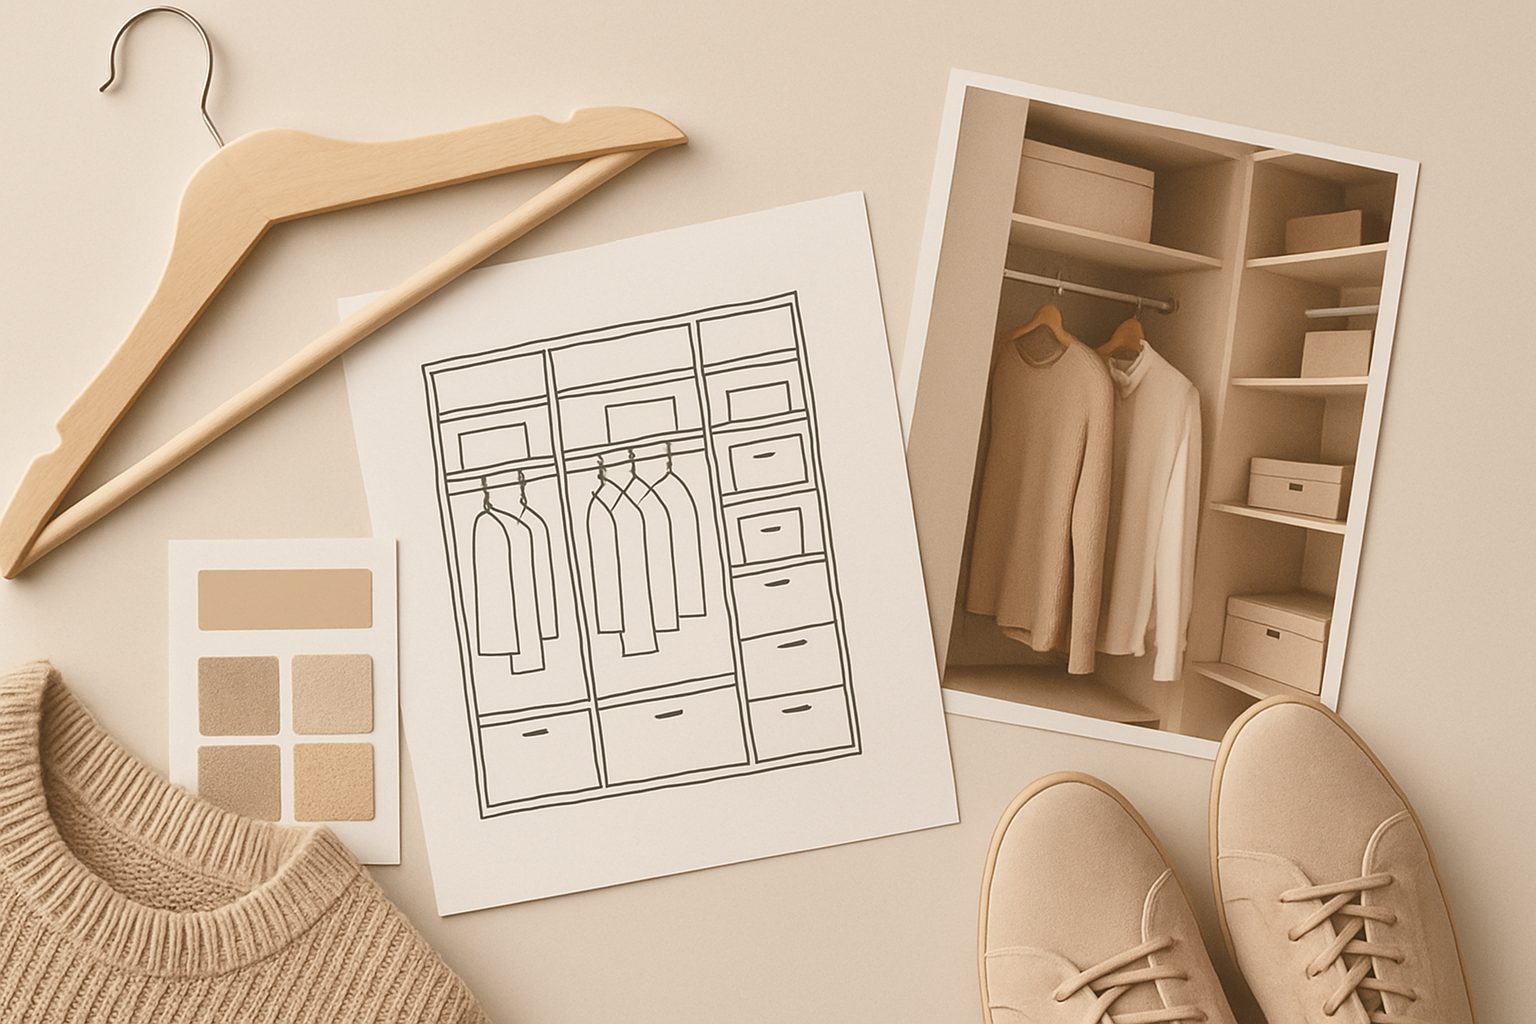
Sketch your layout on paper. Key decisions:
- Rail positioning: Single-rail systems work for smaller spaces; double rails (one above, one below) maximise hanging capacity. If you have high ceilings, use them — upper rails for off-season items, lower rails for everyday wear.
- Shelving: Determine how much folded storage you need vs. hanging. Open shelving (above rails or on a feature wall) is cheaper and more practical than closed cupboards for a working space.
- Drawer/accessory storage: Shoes, belts, scarves. These require either dedicated units (expensive) or smart shelving. A single tall dresser often suffices.
- Door swing: If you're keeping the existing bedroom door, check it doesn't block rail access. Some people hang a sliding door to save space; others remove the door entirely if the wardrobe adjoins the bedroom.
Use your mobile's floor-plan app or graph paper to test layouts. You'll spot problems (rails hitting the window, no space for a mirror) before spending money.
Essential Infrastructure Work
Before fitting anything, sort the basics.
Flooring: Spare bedrooms often have carpet. A walk-in wardrobe needs hard-wearing flooring — the constant foot traffic and potential moisture from ventilation make carpet a poor choice. Laminate, vinyl, or polished concrete are standard. Budget £400–800 for materials and fitting a small bedroom-sized room. Hard flooring also shows when the space needs hoovering, which matters in a confined area.
Lighting: This is non-negotiable. Poor lighting makes choosing outfits miserable and damages clothes in the long run (UV fades fabrics). Install recessed downlights across the ceiling (roughly one per 1.5m²), plus a mirror-front LED strip if possible. Motion sensors on the lights are a nice-to-have if this is a basement or interior room. Budget £300–600 including wiring and installation.
Ventilation: A single extractor fan ducted to the outside is essential. Walk-ins are enclosed spaces with limited air circulation; moisture pools without extraction. A 100mm fan (around £80–150) plus ducting and professional installation (£150–300) prevents damp and musty smells.
Power sockets: Add at least one double socket for a phone charger, steamer, or eventual heated rail. This requires electrical rewiring, which you'll need Building Regulations approval for anyway.
Fitting Options & Materials
Once the room is prepared, you choose your fitting system. Broadly:
- DIY flat-pack rails and shelving: Budget £300–800. Takes a weekend and tools. Fine for basic storage; looks basic.
- Semi-custom systems (Elfa, String, Muuto): £1,500–3,500. Quality shelving and rails, modular, adjustable. Good middle ground for appearance and flexibility.
- Fully custom fitted wardrobes: £4,000–10,000+. Designed specifically for your space, finished to match your décor. Professional installation included.
Rails themselves vary: basic chrome rails cost £30–80; premium wooden-dowel rails (quieter, warmer aesthetically) run £150–300 per rail.
Don't skimp on hangers. Cheap plastic ones crease and damage clothes; invest in quality wooden or padded hangers. It sounds trivial; it's not.
Budget Breakdown
A realistic mid-range conversion (modest space, semi-custom fitting, professional installation):
- Building Regulations approval: £250
- Flooring (materials + fitting): £600
- Lighting and electrics: £400
- Ventilation: £300
- Semi-custom fitting system and rails: £2,000
- Hangers, baskets, accessories: £200
- Contingency (always needed): £250
Total: approximately £4,000–5,000 for a properly finished walk-in wardrobe.
Budget conversions (basic flat-pack fitting, DIY installation, minimal accessories) run £1,500–2,000. Premium fitted systems exceed £8,000. Your actual cost depends entirely on size and choices.
The Conversion Timeline
Start to finish realistically takes 6–8 weeks:
- Measure, plan, and apply for Building Regulations (2 weeks)
- Flooring, lighting, ventilation work (1–2 weeks, includes inspections)
- Fitting system delivery and installation (1–2 weeks)
- Final accessories and organisation (1 week)
Don't rush the planning phase. Time spent here prevents expensive corrections. A week sketching layouts and confirming measurements beats a fortnight ripping out wrongly-installed rails.
Start with the planning permission and Building Regulations questions; they determine whether the project is viable. Then handle infrastructure (flooring, lighting, ventilation) so the space is ready for fitting. Finally, choose your system based on budget and space. That order works. Every other approach creates problems.
More options
- Walk-In Wardrobe LED Strip Lighting Kits (Amazon UK)
- Wardrobe Interior Organisers & Accessories Bundle (Amazon UK)
- Modular Wardrobe Storage Systems (Amazon UK)
- Hollywood Vanity Mirror & Dressing Table Lighting (Amazon UK)
- Pull-Out Wardrobe Rails & Shoe Racks (Amazon UK)